Sony A7 IV Review & Sample Images by Ken Rockwell
![Sony A7 IV Review & Sample Images by Ken Rockwell](https://www.kenrockwell.com/sony/images/a7-iv/D3S_9450-back.jpg)
Sony A7 IV Review & Sample Images by Ken Rockwell
![](https://kenrockwell.com/sony/zeiss/50mm-f14/810_1295-1200.jpg)
Sony Reviews by Ken Rockwell
![](https://www.kenrockwell.com/trips/2016-05-yosemite/RX300658-green-falls.jpg)
Sony RX10 Mk IV Review
![](https://www.kenrockwell.com/trips/2016-05-yosemite/RX300796-crop.jpg)
Sony RX10 Mk IV Review
![](https://www.kenrockwell.com/sony/rx100-mk-iv/D3S_2943-1200.jpg)
Sony RX10 Mk IV Review
Sony A7R Mark IV Review
![](https://www.kenrockwell.com/sony/a9/sample-images/A9_01447-f8-full.jpg)
Sony A7 IV Review & Sample Images by Ken Rockwell
![](https://www.kenrockwell.com/sony/a9/810_0748-leica-summar.jpg)
Sony A7 IV Review & Sample Images by Ken Rockwell
![](https://kenrockwell.com/sony/lenses/70-200mm-f28/810_0771-vertical.jpg)
Sony Reviews by Ken Rockwell
![](https://www.kenrockwell.com/sony/images/zv-e10/D3S_9784-1200.jpg)
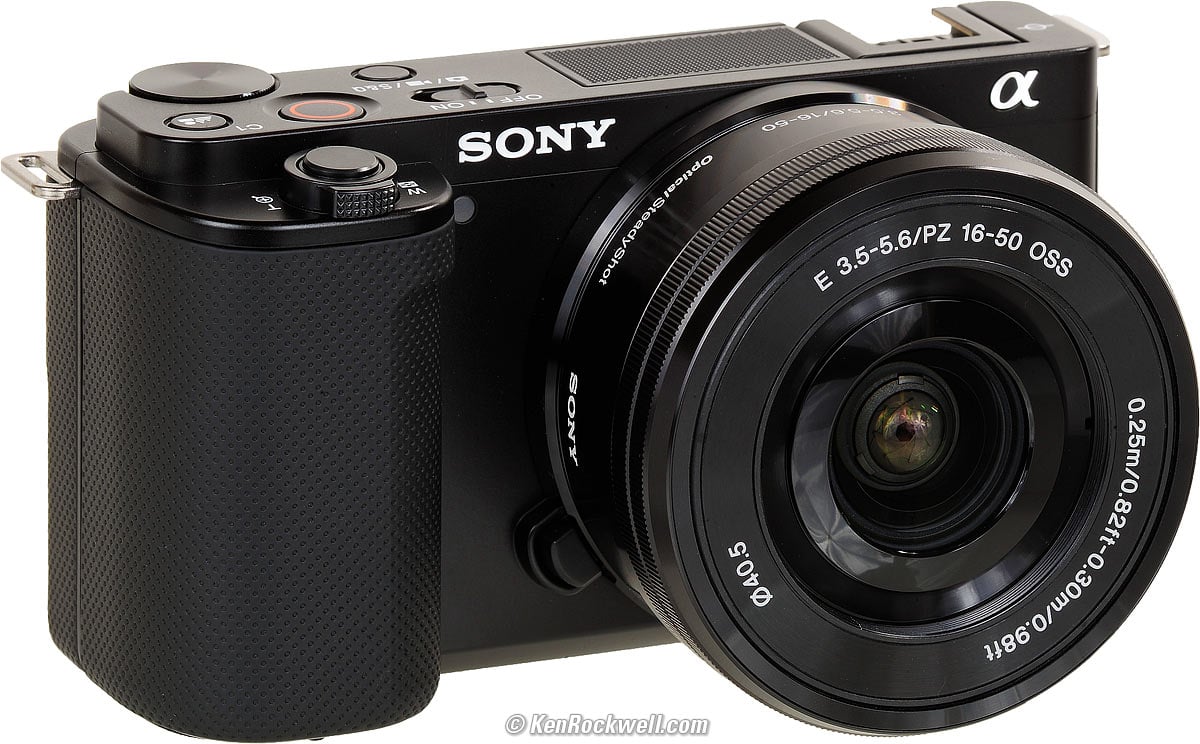
Sony ZV-E10 Review & Sample Images by Ken Rockwell
Sony A7 IV Review & Sample Images by Ken Rockwell
![](https://kenrockwell.com/sony/zeiss/24mm-f18/810_7506-1200.jpg)
Sony Reviews by Ken Rockwell
También te puede interesar
Sugerir búsquedas